
In this <5 min read we'll look at:
- How to set up a dark food/product shot
- Optimal lighting techniques for your scene
- Exposure and camera settings for the best capture
- How to elevate your images with the right retouch
As winter approaches, we love to see more moody product and food photography. Creating darker images using vinyl backdrops can present a few challenges, so in this post we want to share some simple hints and hacks for creating rich, beautiful low-key shots.
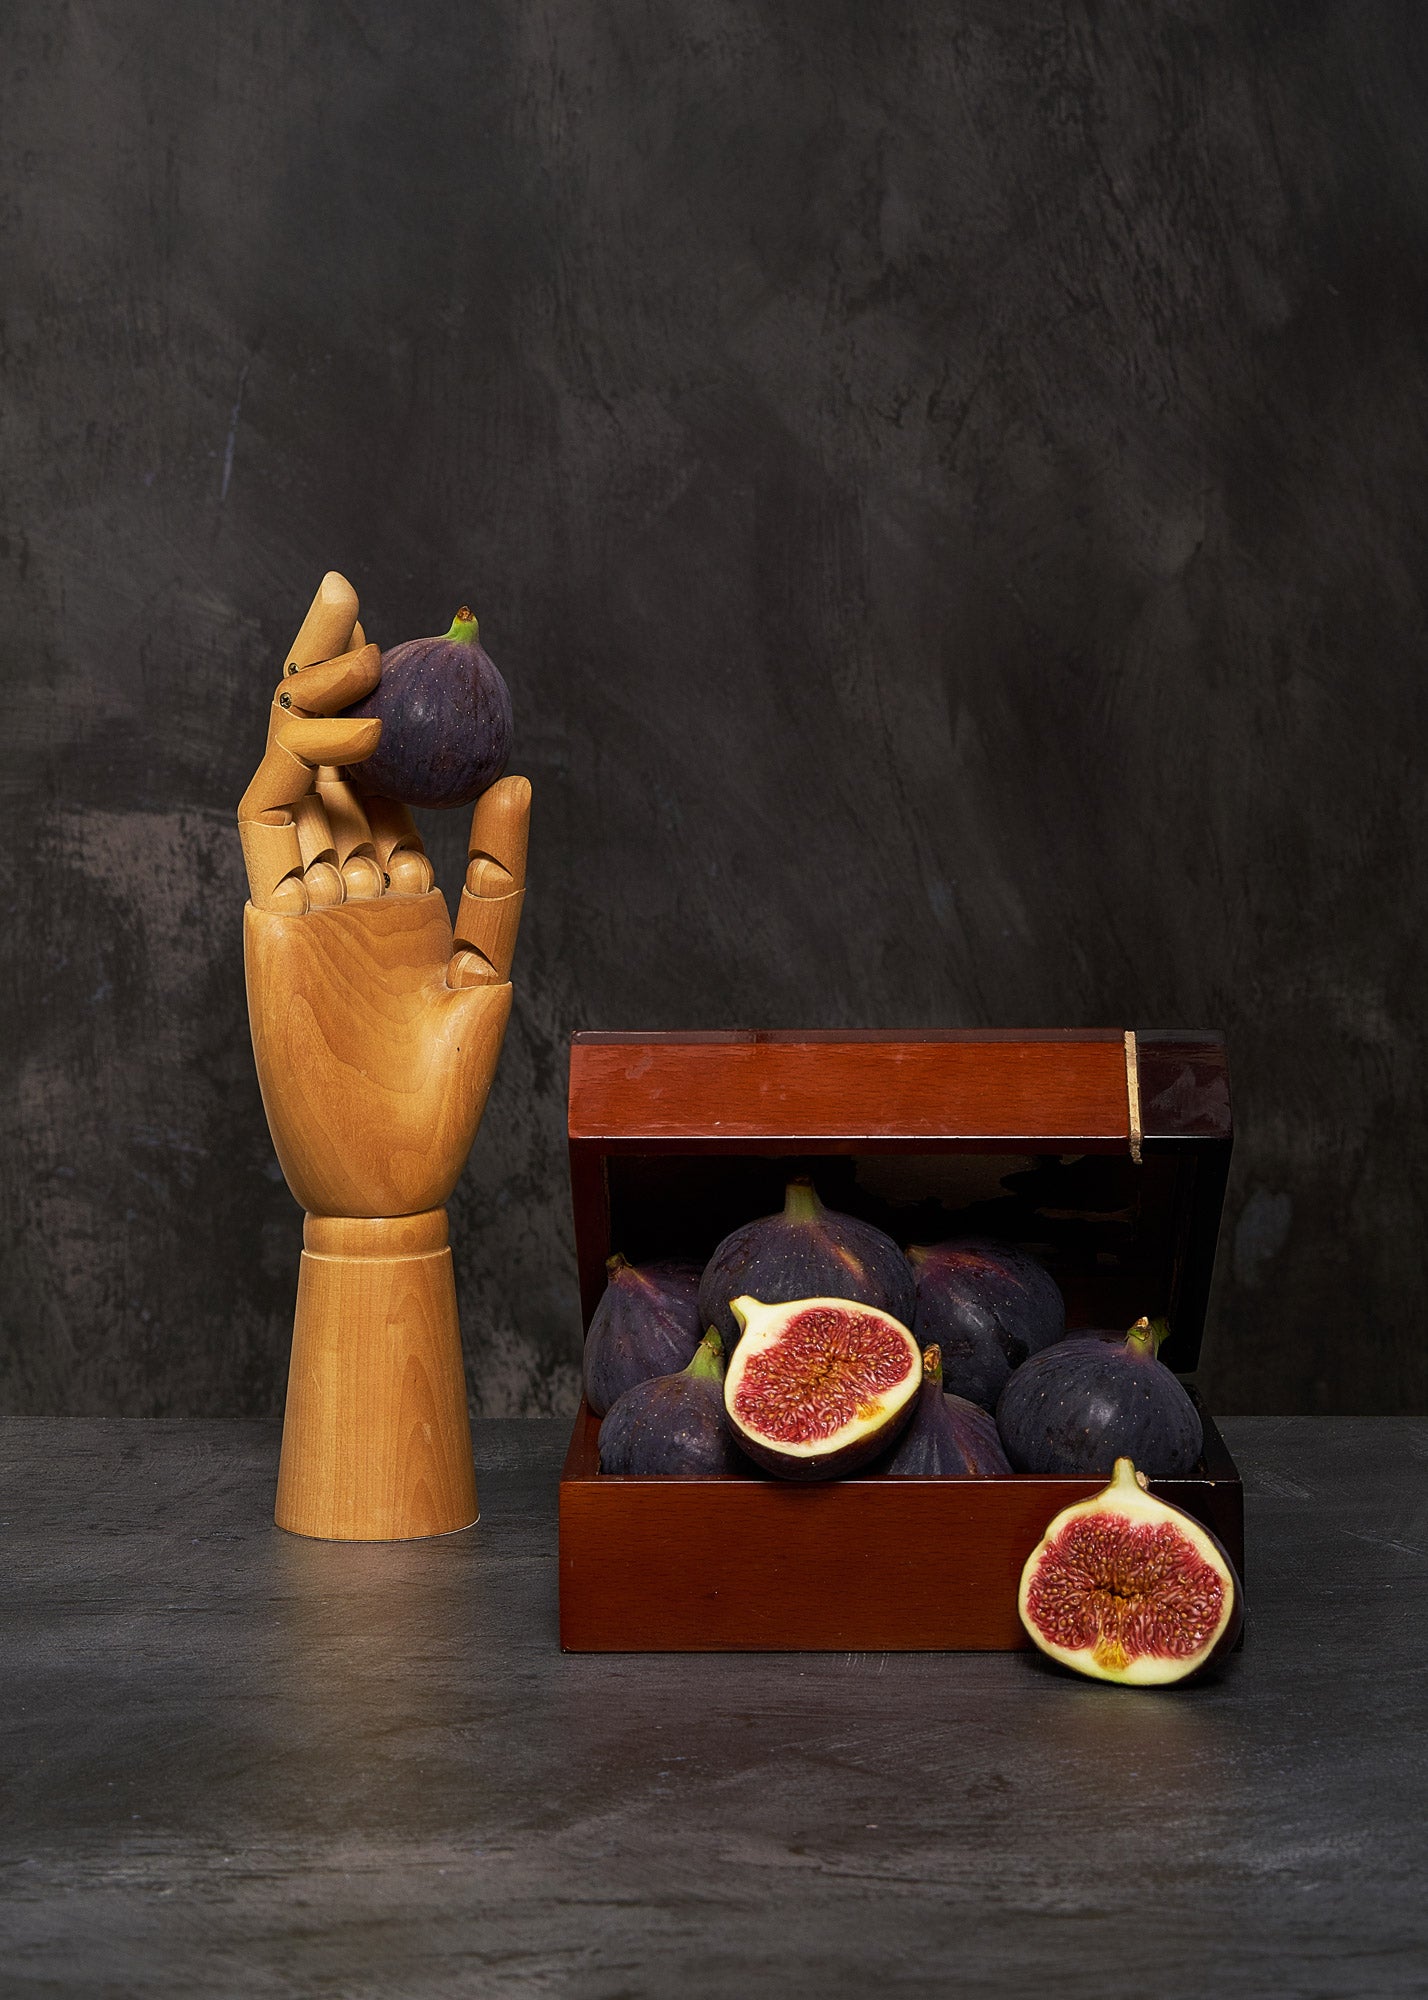
For our recent Autumn Collection shoot, we used the Dark Kelvin vinyl backdrop in foodie flat-lays and vintage style still-life sets. As usual, we did this photoshoot on a mini budget with our cheap and cheerful pseudo-pro setup.
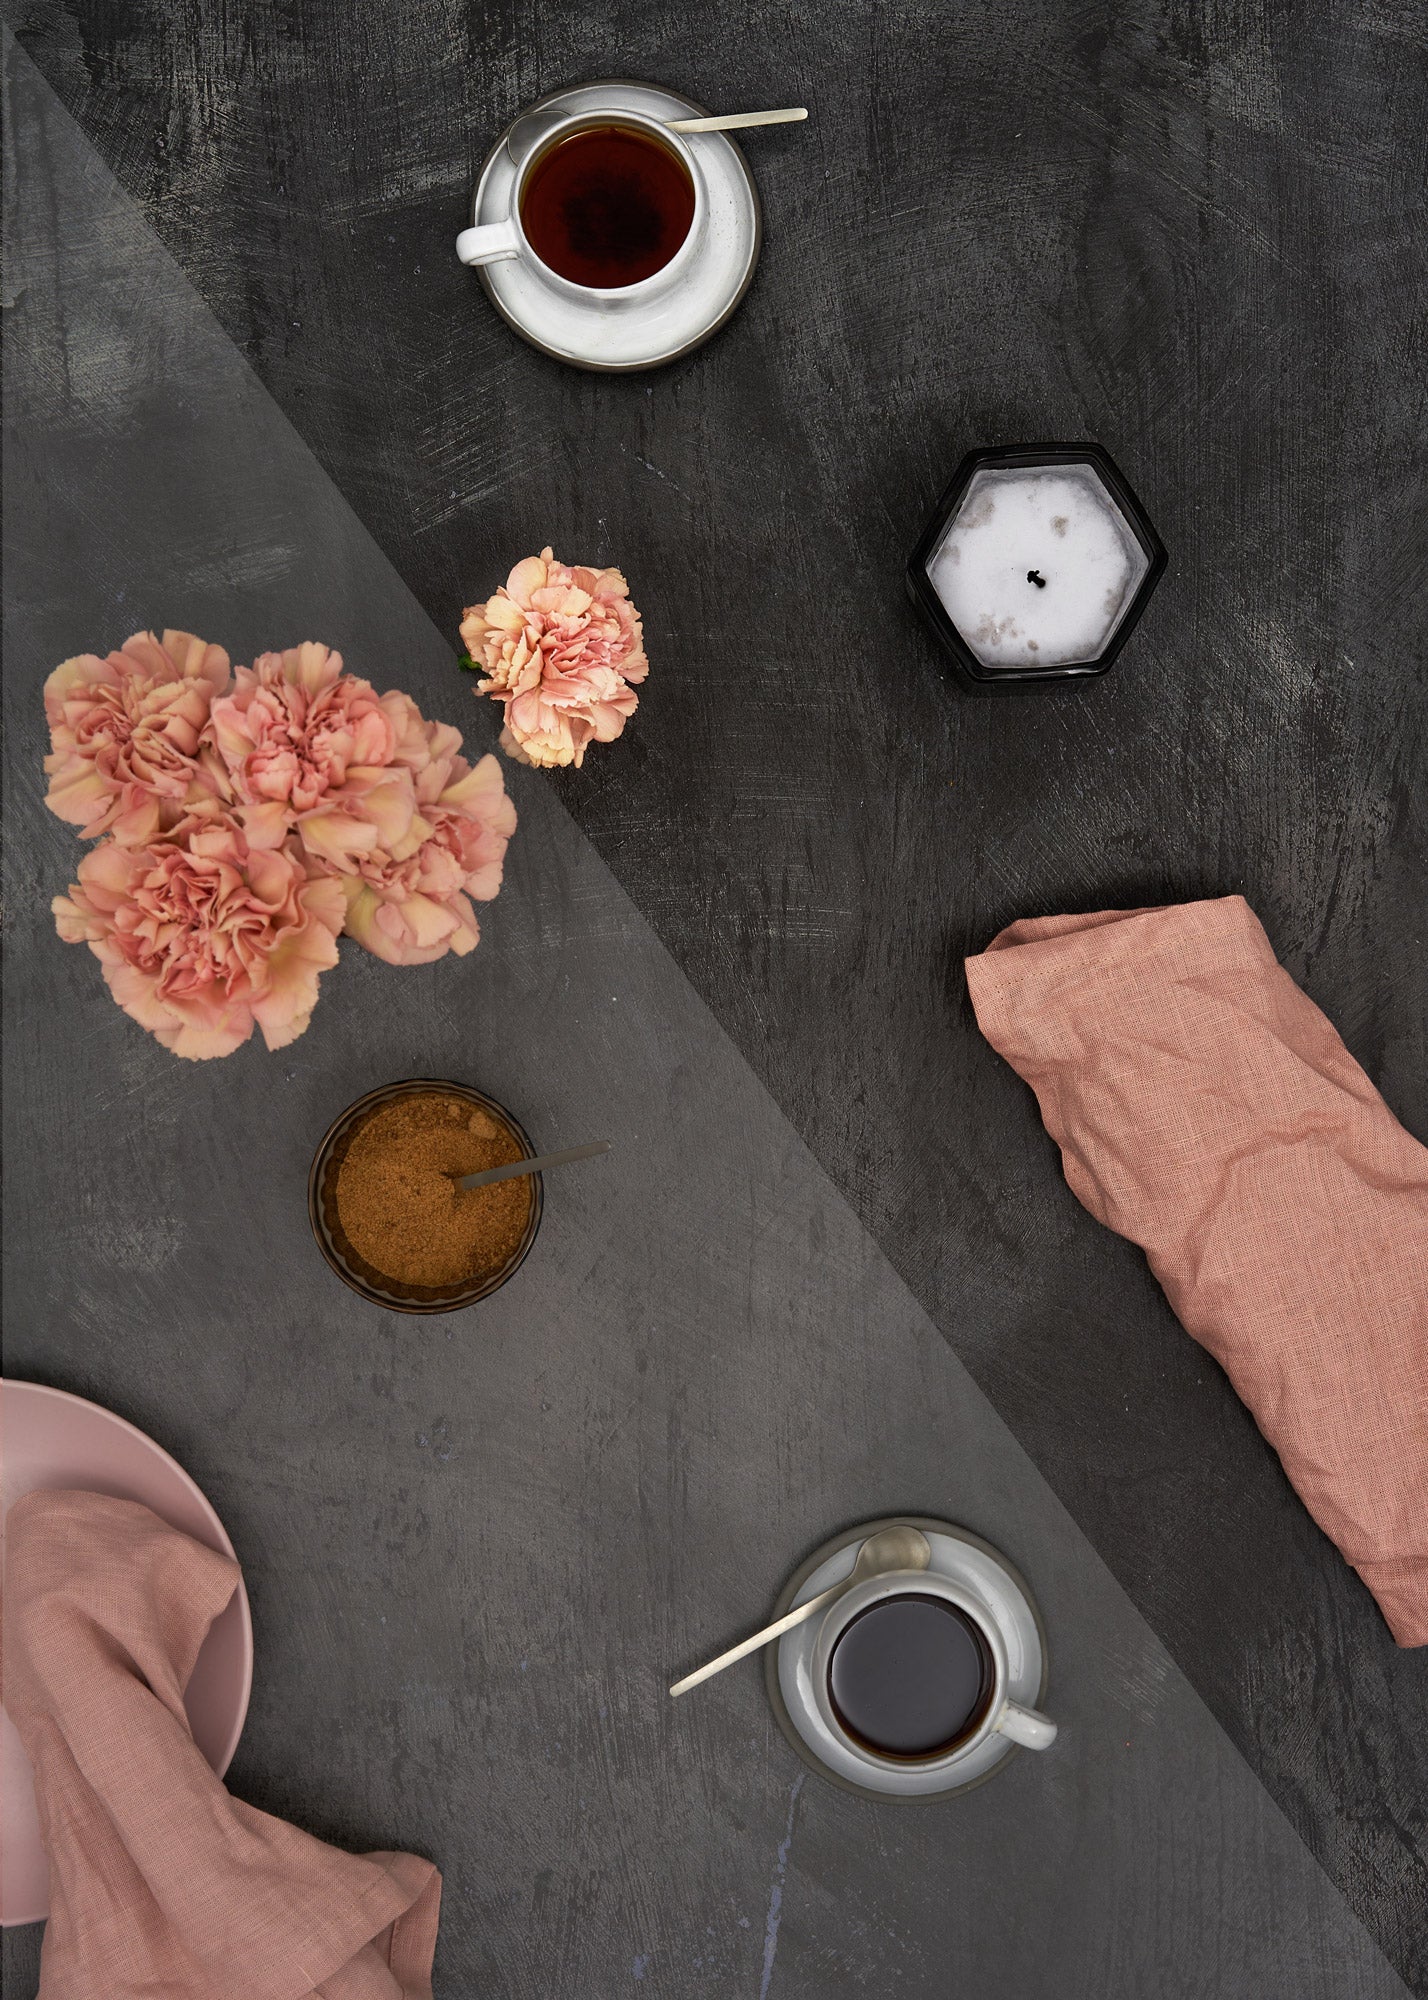
Here's some of the results:
Scene Setup
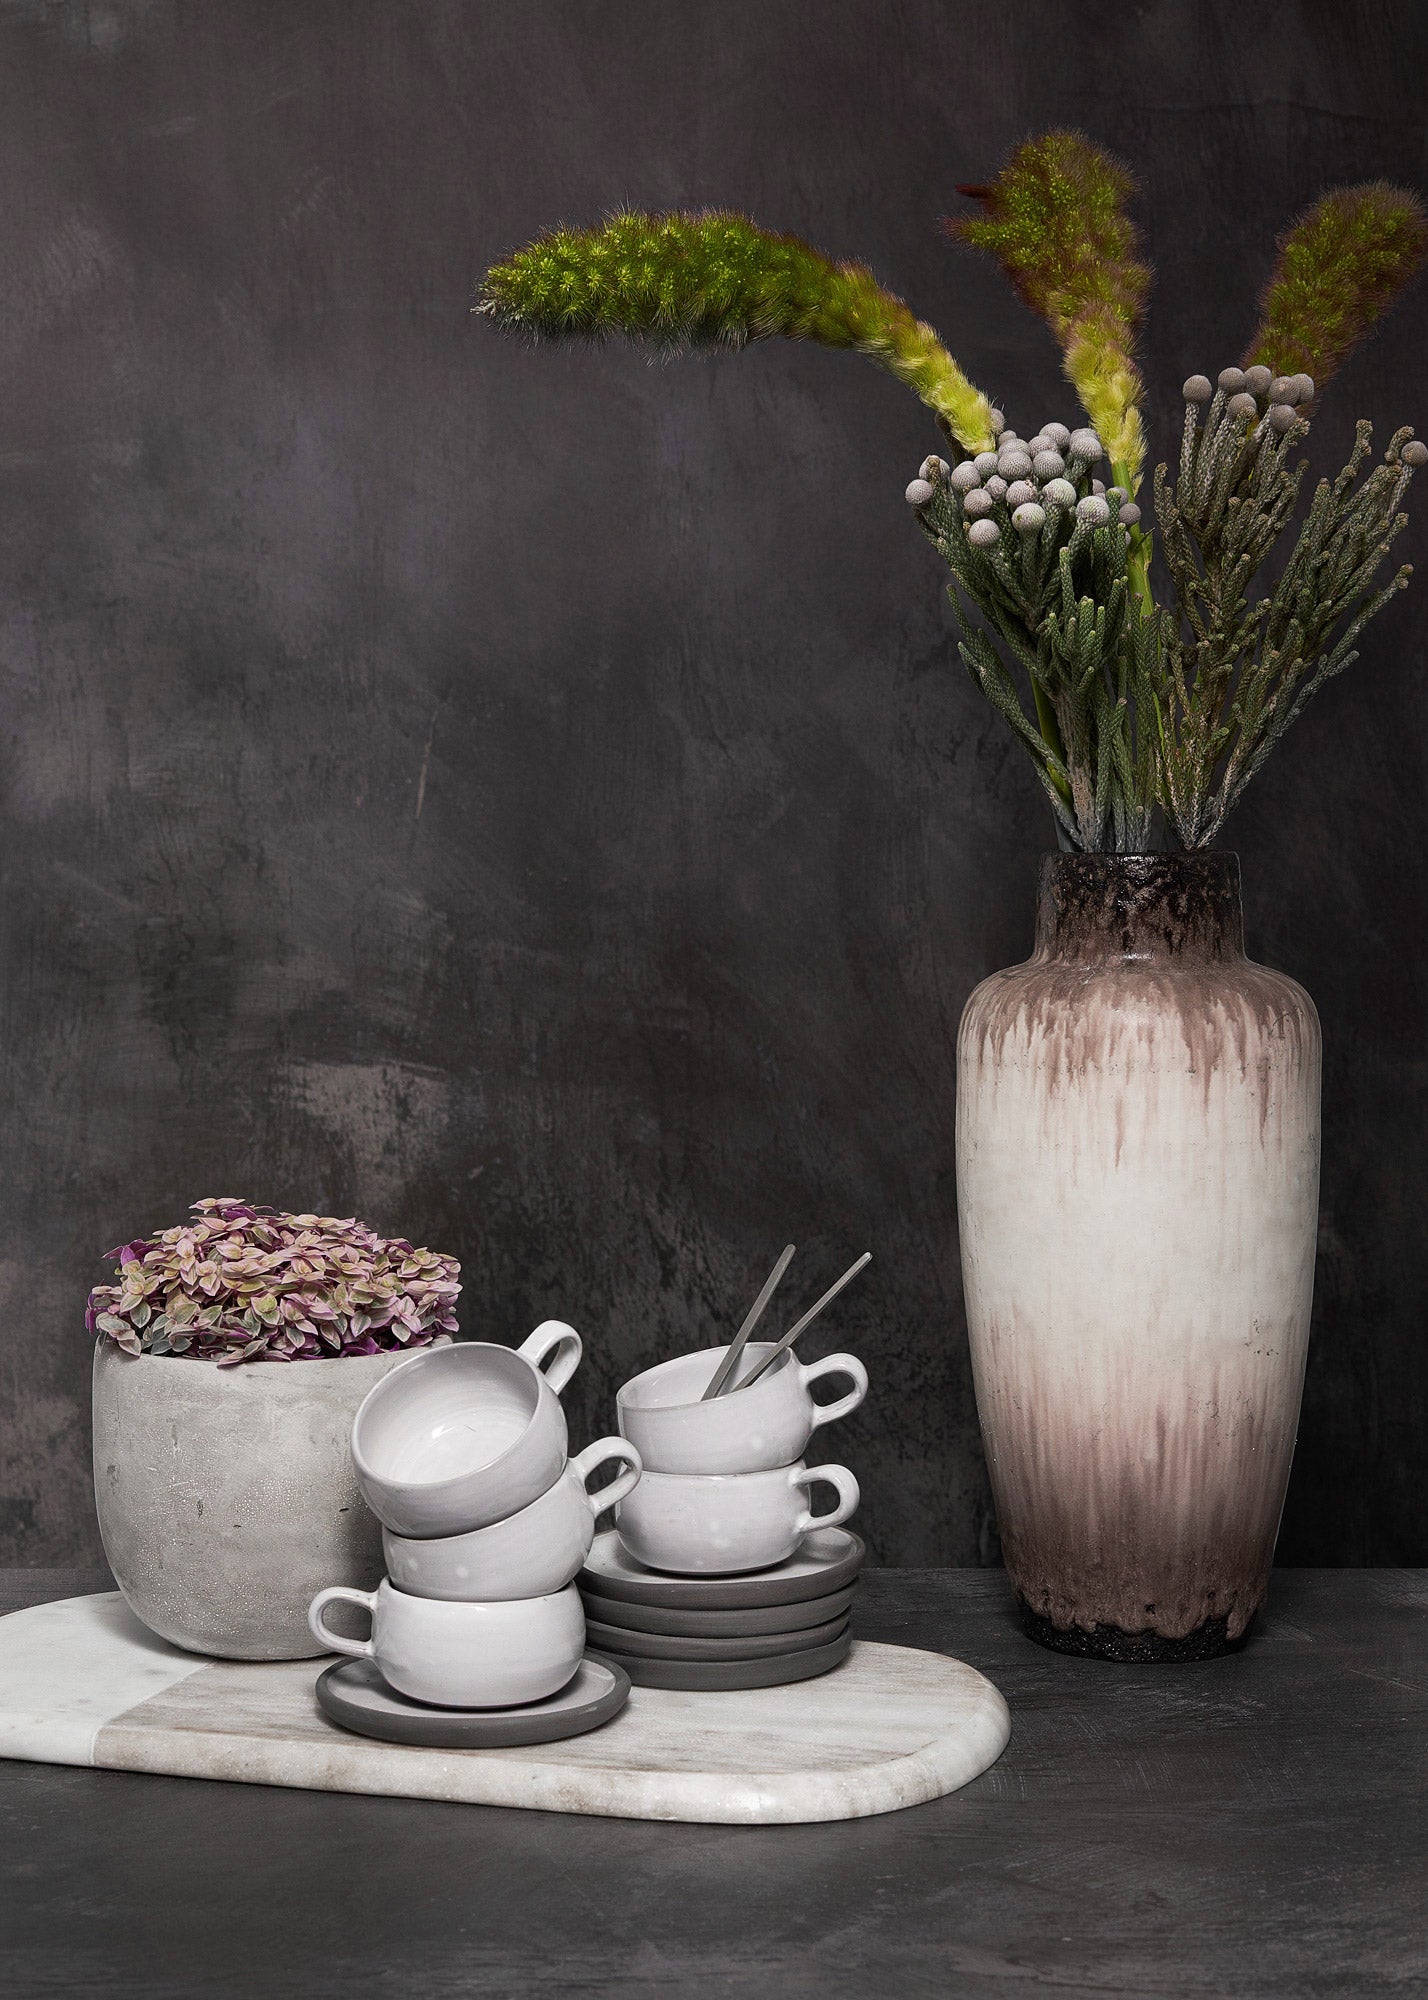
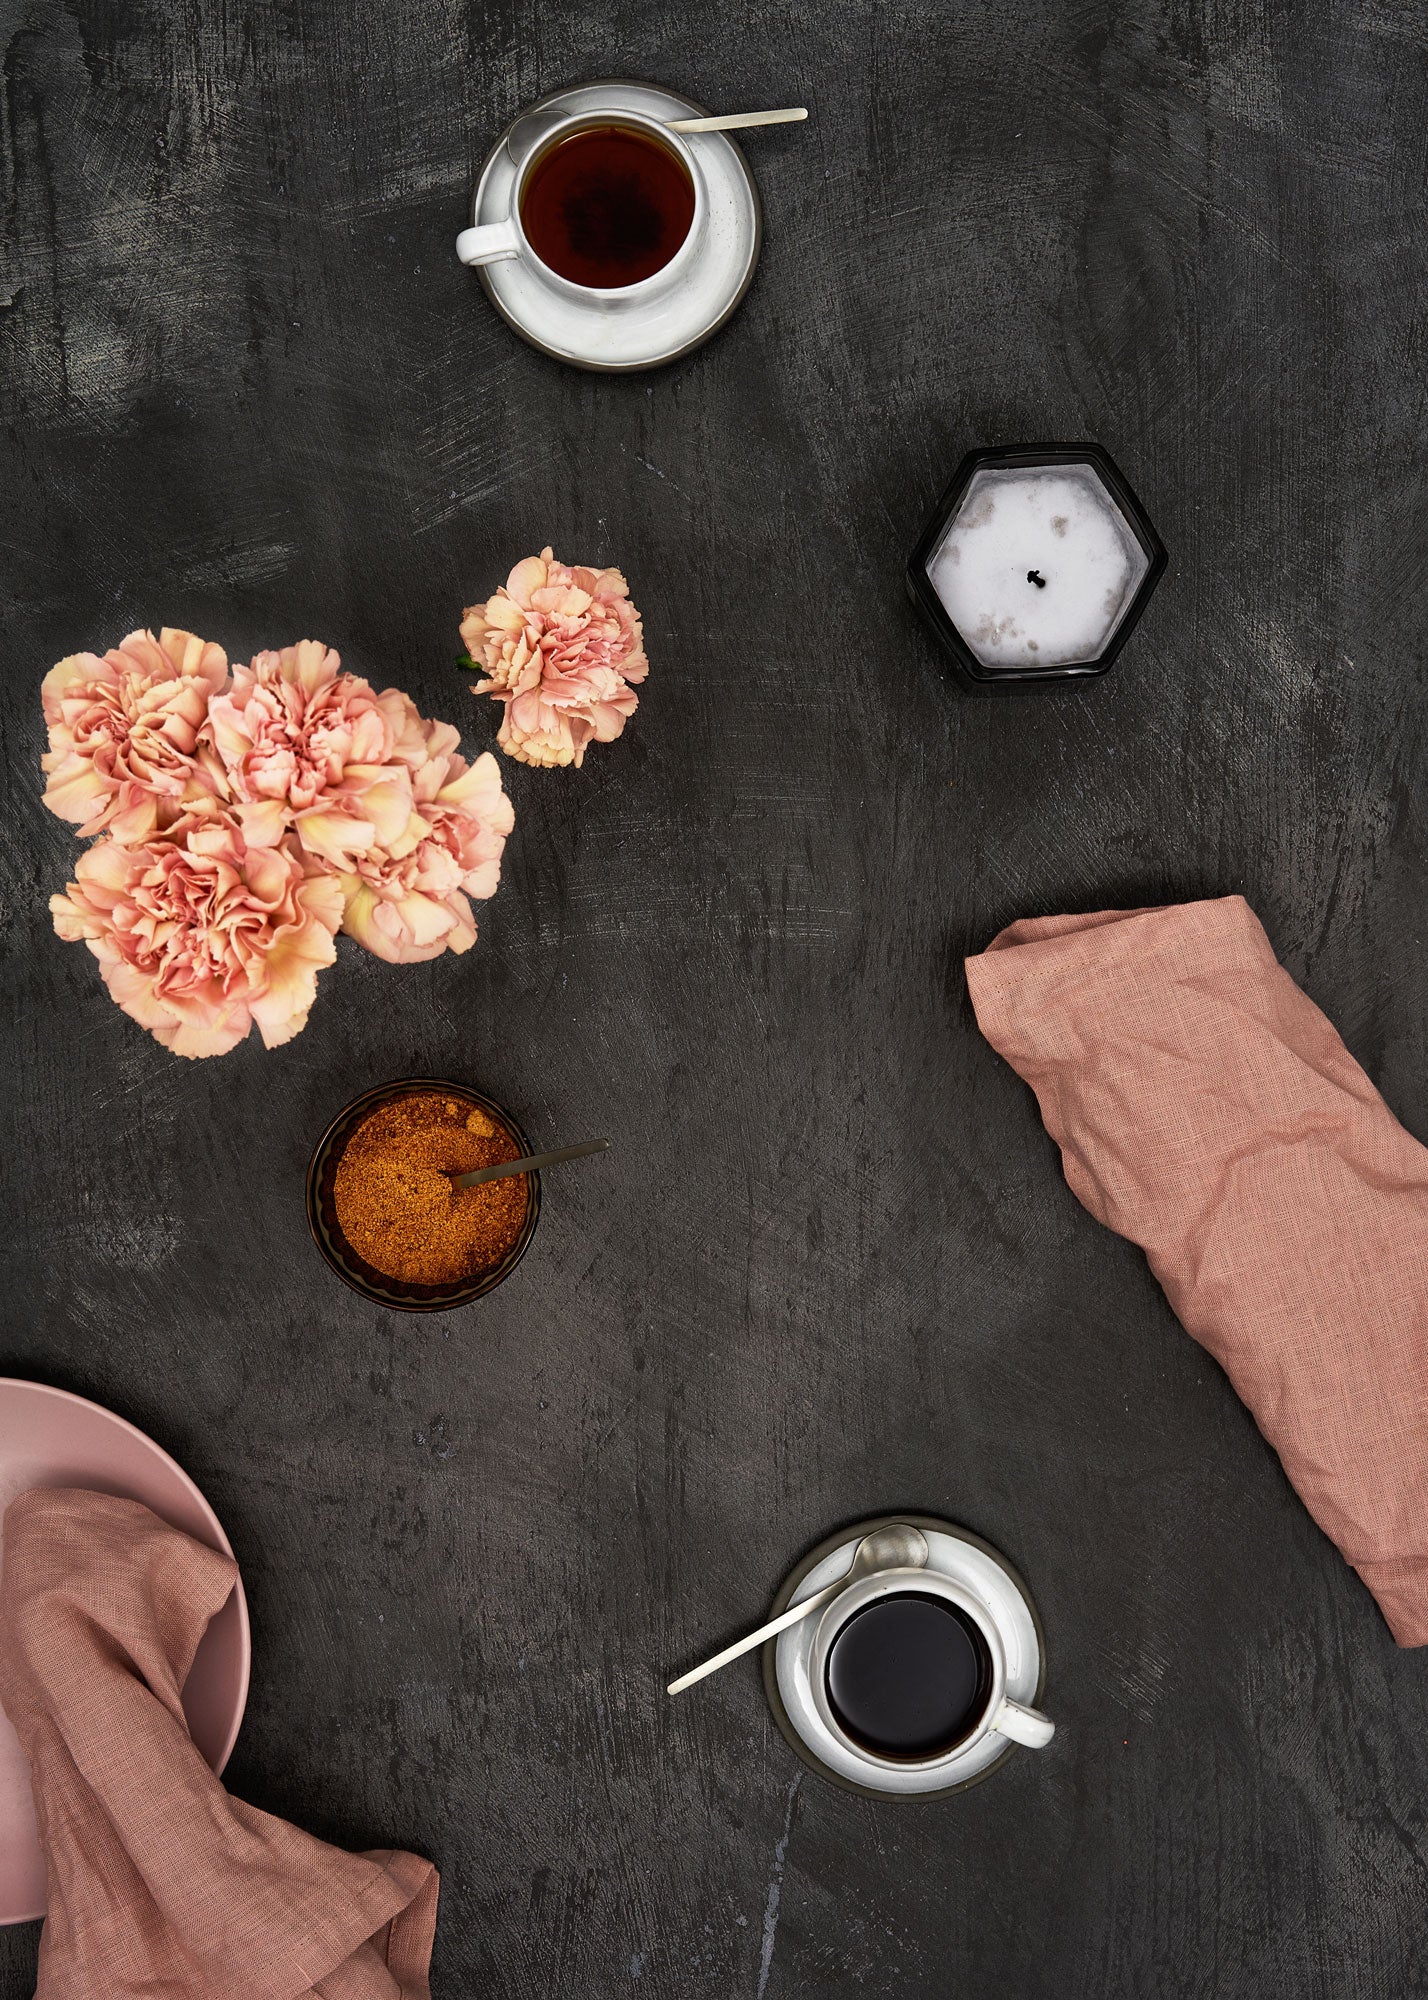
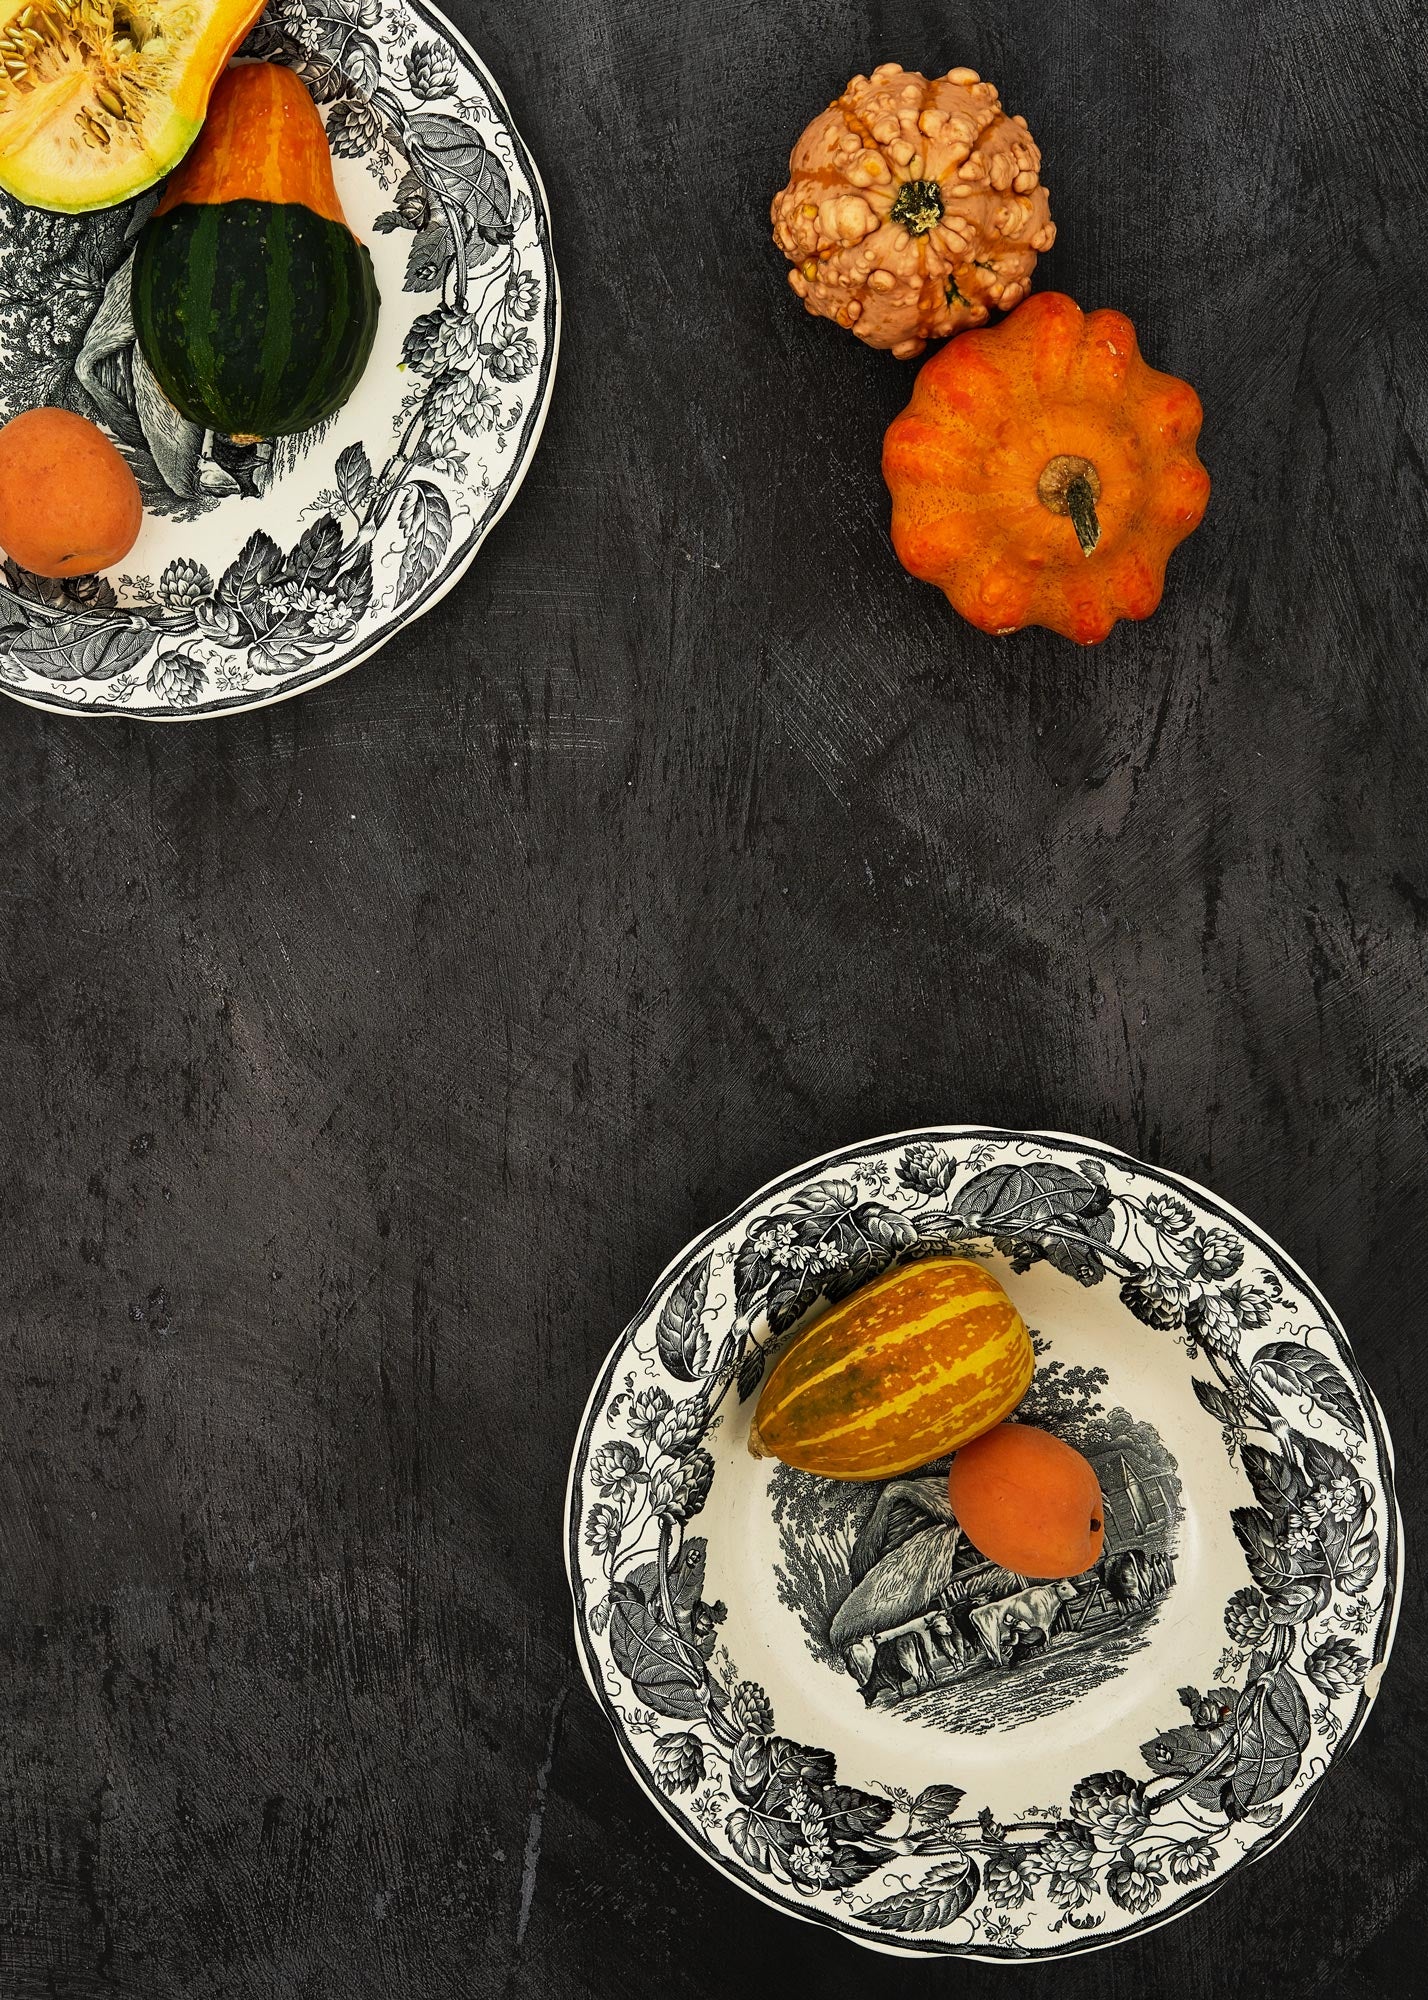
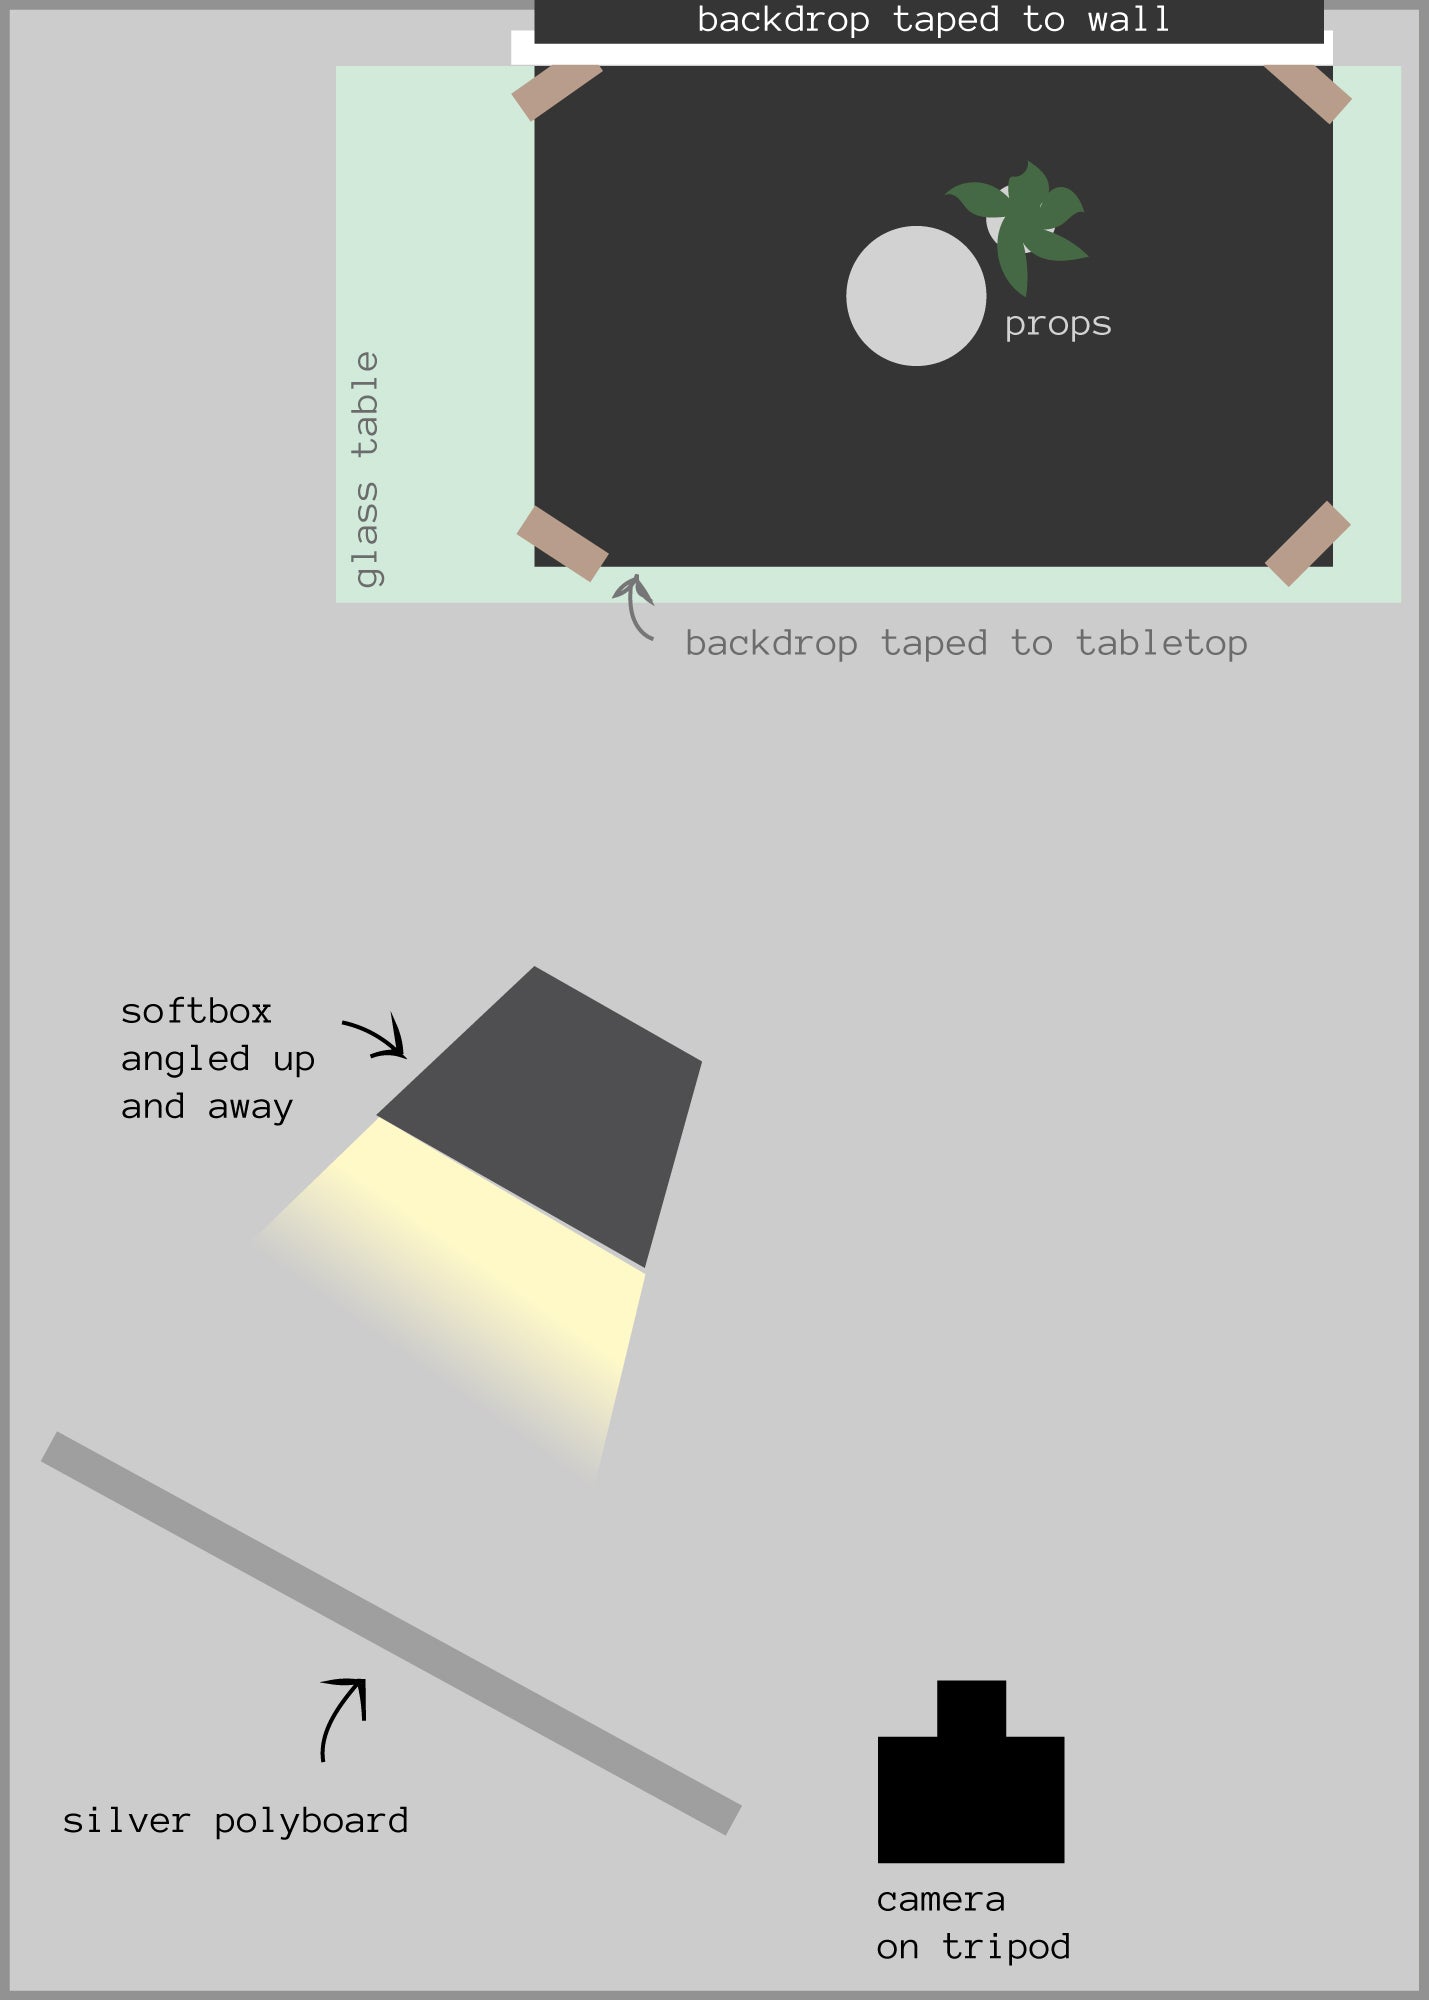
We used two setups for this shoot; One upright/portrait style and one flat-lay. For the upright setup we placed one regular sized vinyl backdrop on a glass-top trestle table from IKEA, and taped a large sized backdrop in the same design directly onto the wall behind it with kraft tape. For our top-down shots we taped a single vinyl backdrop onto a board and lay the board on the floor.
For these images we chose a monochromatic palette of greys and neutrals, highlighted with pops of colour from fresh flowers and produce. Our selection of thrifted and supermarket props were chosen in matt ceramic finishes and natural wood to eliminate troublesome reflections when shooting.
Lighting Setup
Normally with a bright, high-key scene we would use 2 constant lights in our setup, but for darker and more saturated backdrops it is often best to work with just one. This limits the amount of light spilling into the scene and makes it more controllable.
Even with just one light source, there can still seem to be too much light in a dark scene. This is caused by glare (or reflected light) bouncing off the surfaces that you are attempting to photograph. To minimise this effect, the light needs to be softer and less direct. We lit our upright set-up using one soft light pointing away from the scene and reflected back into it using a large silver reflector.
For the top-down shots we simply pointed the single light straight upwards at the ceiling of the studio to create a soft, indirect and even source of illumination.
Lighting setup for avoiding glare on dark backdrops:

Camera Setup
When shooting darker images, camera settings are just as important as the right lighting in achieving a strong exposure. We shot these images using a tripod and a slow shutter speed at f/11 as we wanted to keep the foreground and background quite sharp, despite using relatively little light in the scene.
These images were shot with a Sony A7R III using our favourite 55mm lens. The lens choice means we needed to set the camera up 1-2 metres back from the scene to get everything in frame. For the top-down shots we used a C-stand with an arm and camera mount to keep the shot steady and achieve the required height from the surface.
Finishing Retouches
A few post-production tweaks can have a huge impact on dark product and food photography. Increasing the contrast and clarity of your images, even by a small amount, can give them far more presence and a professional finish. For these shots, especially the flat-lays which were lit very softly from directly above, the captured images had low mid-tone contrast (which can make them appear grey or washed out). This type of image can be easily adjusted using 'levels' in Photoshop, or the 'tone curve' in Lightroom (and other photo editing software). If you are a phone photographer you can also use an editing app such as Snapseed to achieve similar results.
The un-retouched image vs. a few small tweaks to the levels, contrast and clarity:

List of Equipment Used
-
Constant Lighting Kit (Amazon, £60) (note: we found the lights in this kit to be good for the price, but the stands are of a pretty low quality. We bought this kit then ended up buying better quality stands in the end from Wex - the lights now live in these better stands).
-
Manfrotto Tripod (Wex, £39)
-
IKEA glass top table (£60) with 2x trestles (£50)
- Polyboard (B&Q, £16) used as reflector. Ours is backed in silver but plain white will also work
- Manfrotto C-Stand with arm (Wex, £169)
- Manfrotto Camera Mount (Wex £14)
- 'Dark Kelvin' Vinyl backdrop - 1 x Regular size + 1 x Large size
-
We shot this with a Sony A7R III and a Sony FE 55mm f/1.8 ZA lens